Automated installation of simplecontainer on the AWS EC2 instances

In this quick tutorial, we will go over how to automatically install simplecontainer dependencies:
- docker
- wireguard
, install simplecontainer and get it running in an automatic way.
If you want to skip the tutorial, go to the end where the user data script is located.
Simplecontainer install script
When creating an EC2 instance, AWS provides the User data field in the Advanced tab. User data is a shell script that will be executed on the first startup. If you are more interested in how it works, read more about the cloud init.
The install script specifically for the EC2 instances is located on GitHub.
It will automatically do the next:
- install docker-ce
- install wireguard
- install simplecontainer
- create user: node
- copy SSH authorized keys from the default user to the node user
- start the simplecontainer and import context with public hostname of the EC2
Script
The script is hosted on the official repository of the simplecontainer/smr. You can copy-paste from there.
Creating instance
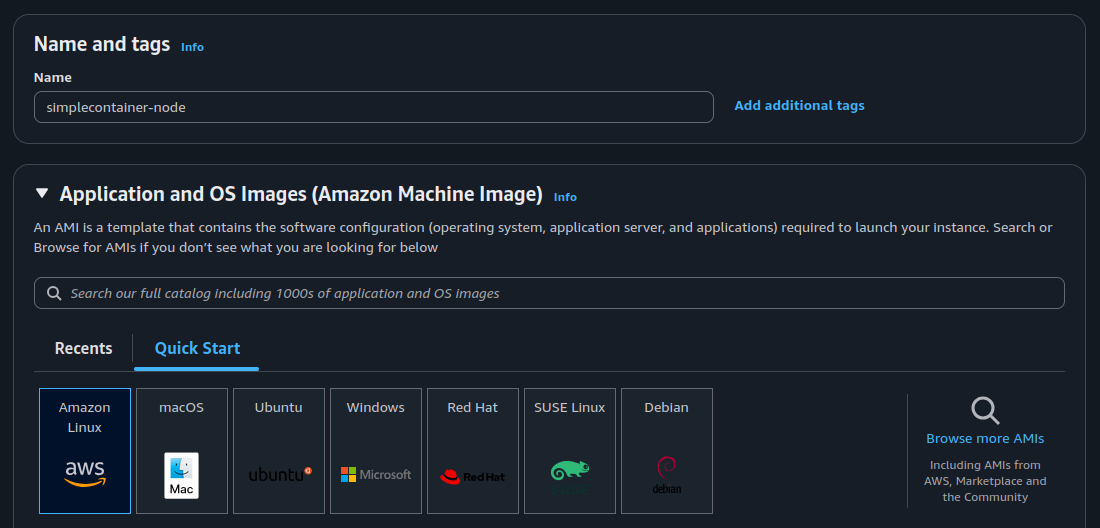
Following the steps in the gallery:
- Choose any distribution you like except macOS and Windows (not supported)
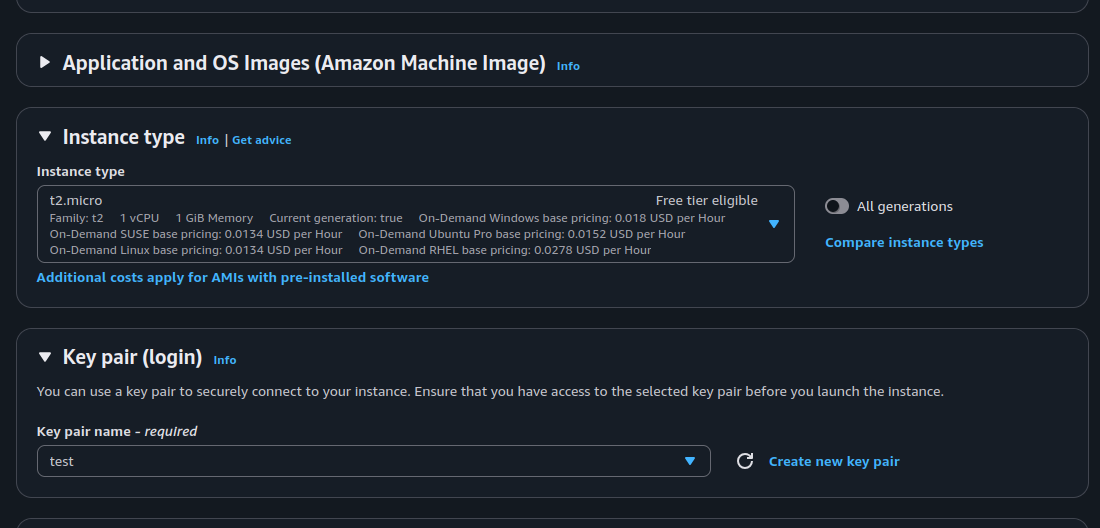
- Create or choose an existing key pair for the SSH
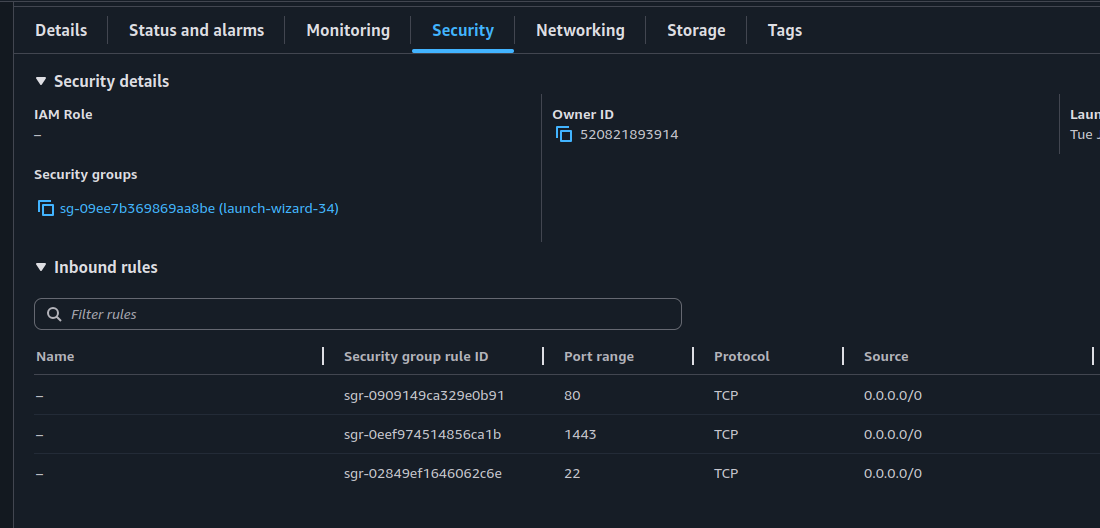
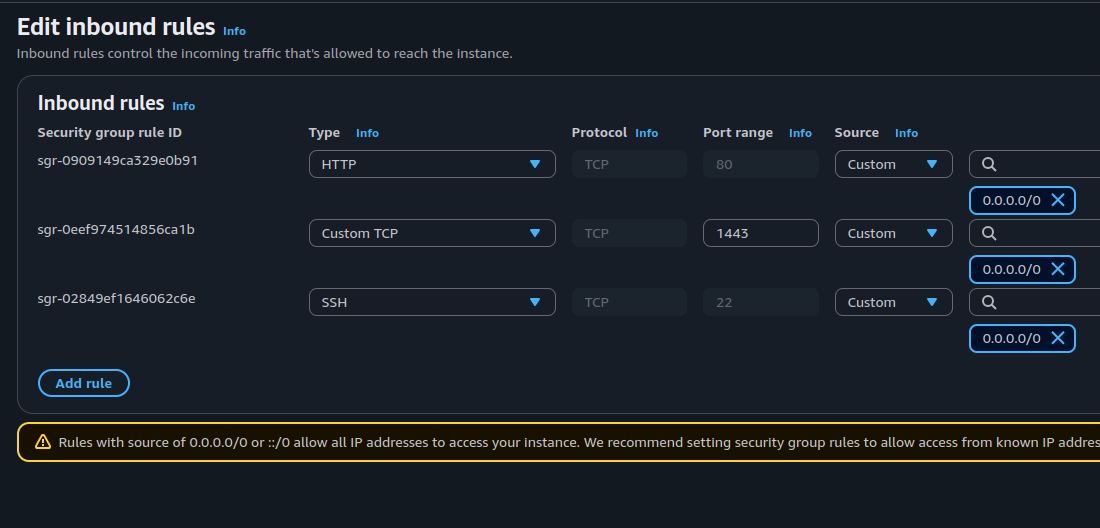
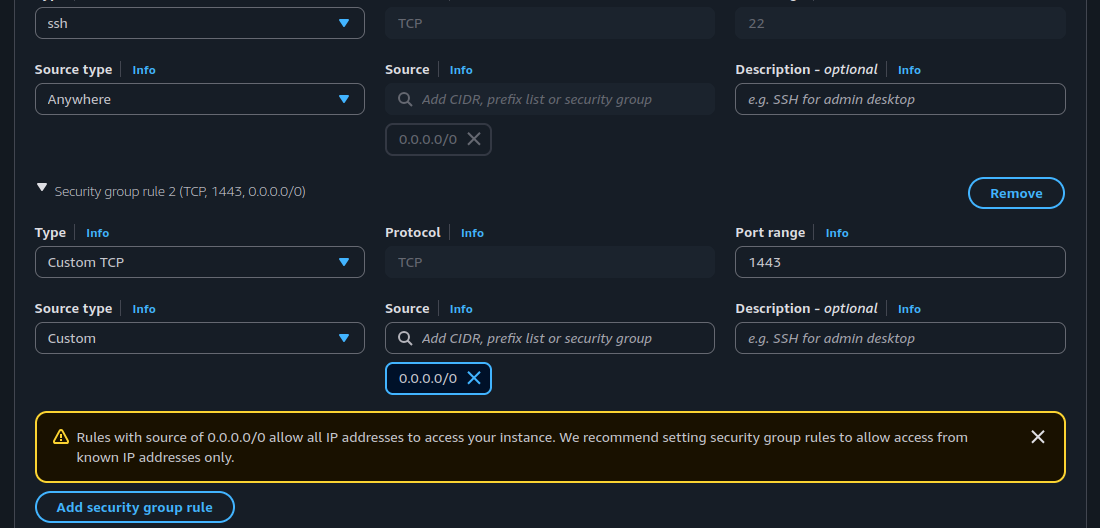
- On the network tab, click edit, then click Add security rule, then add 1443 from 0.0.0.0/0 same as on the image
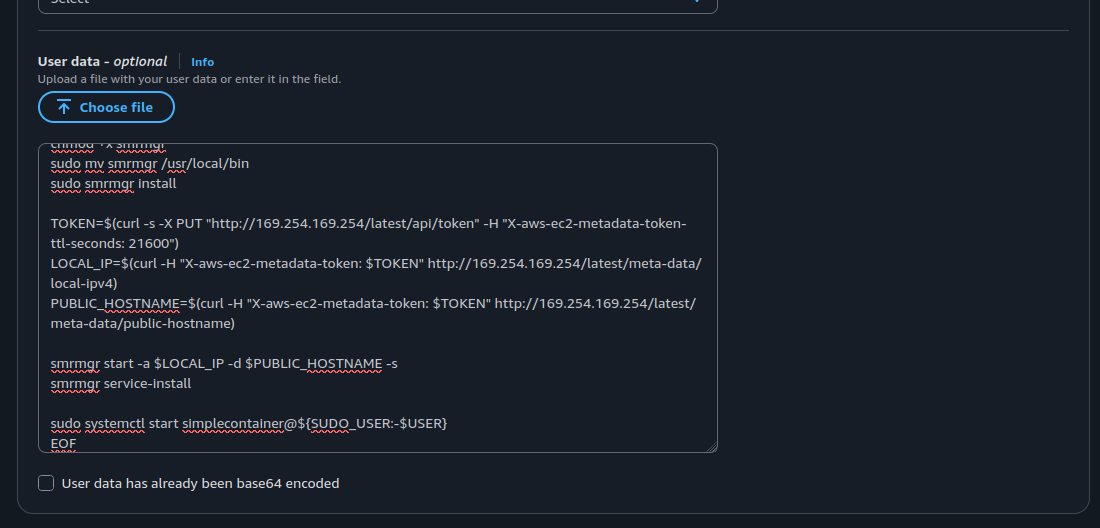
- Expand the Advanced tab, go to the bottom, and copy-paste the script in the User data textarea.
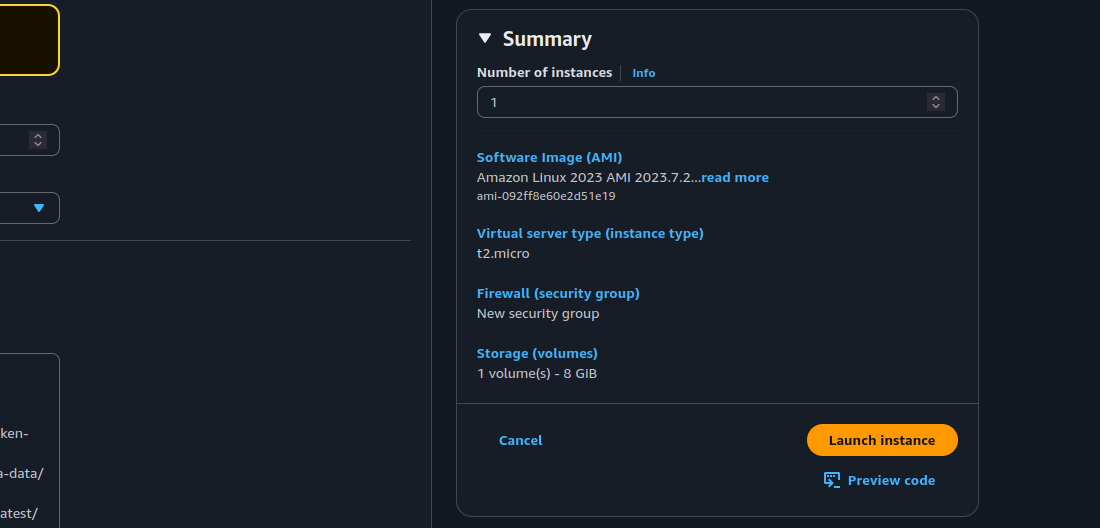
- Launch instance
Inside the machine
SSH into the machine with the node user.
ssh -i "test.pem" [email protected]Specify your own key instead of the test.pem. If the authentication fails, wait a few moments for the cloud-init to finish.
Otherwise, SSH in as the default user for the chosen distribution and debug the /var/log/cloud-init-output.log.
A newer release of "Amazon Linux" is available.
  Version 2023.7.20250623:
Run "/usr/bin/dnf check-release-update" for full release and version update info
   ,     #_
   ~\_  ####_        Amazon Linux 2023
  ~~  \_#####\
  ~~     \###|
  ~~       \#/ ___   https://aws.amazon.com/linux/amazon-linux-2023
   ~~       V~' '->
    ~~~         /
      ~~._.   _/
         _/ _/
       _/m/'
Last login: Mon Jun 23 23:01:43 2025 from 109.175.107.239
[node@ip-172-31-17-66 ~]$ smrctl ps
NODE  RESOURCE  IMAGE  PORTS  ENGINE STATE  SMR STATE
[node@ip-172-31-17-66 ~]$ smr node logs
/*********************************************************************/
/* Certificate is generated for the use by the smr client!           */
/* It is located in the .ssh directory in home of the running user!  */
/* ls $HOME/.ssh/simplecontainer                                     */
/*********************************************************************/
...
...
Redacted
Context is already imported for the public hostname of the EC2 instance. It can be exported as it is for the usage on the external machine, GitHub action, Gitlab pipeline, or somewhere else.
[node@ip-172-31-17-66 ~]$ smrctl context export active
99b4b9133c36c842cacc506ed6e7b1f4363a8f036d676a883cef2aef...REDACTED 2bd6ef60721ef0a7e73c7e8202d1cdac0c3fed97933d274c3f282a4453ceafcf
Copy-paste to the external machine and start orchestrating.
➜  external-machine smrctl context import <PASTE OUTPUT>
context 'simplecontainer-node-1' successfully imported and set as active
➜  external-machine smrctl ps
NODE  RESOURCE  IMAGE  PORTS  ENGINE STATE  SMR STATE
Ready for use.
Deploying nginx is straightforward.
prefix: simplecontainer.io/v1
kind: containers
meta:
  group: ec2
  name: nginx
spec:
  image: nginx
  tag: 1.28.0
  replicas: 1
  ports:
    - host: "80"
      container: "80"
nginx.yaml
➜  external-machine smrctl apply nginx.yaml
object applied: containers
➜  external-machine smrctl ps
NODE                    RESOURCE                    IMAGE         PORTS  ENGINE STATE  SMR STATE
simplecontainer-node-1  containers/ec2/ec2-nginx-1  nginx:1.28.0  -      -             start (3s)
➜  external-machine smrctl ps
NODE                    RESOURCE                    IMAGE         PORTS  ENGINE STATE      SMR STATE
simplecontainer-node-1  containers/ec2/ec2-nginx-1  nginx:1.28.0  -      running (docker)  running (1s)
➜  external-machine smrctl ps